How to Clean a Leather Sofa the Right Way
A complete, expert-backed guide to keeping your leather sofa looking brand new. Learn proven cleaning methods, stain removal techniques, and conditioning routines for every leather type.
Why This Guide Matters: Using the wrong cleaning method on your leather sofa can cause irreversible damage — discoloration, cracking, and loss of natural oils. This guide walks you through every step based on your specific leather type, so you can clean with confidence and extend the life of your investment for years to come.
Table of Contents
- Why Regular Cleaning Is Essential for Leather Sofas
- Understanding Your Leather Type Before Cleaning
- Essential Tools and Supplies You Will Need
- Step-by-Step Leather Sofa Cleaning Process
- How to Remove Common Stains from Leather
- Conditioning: The Key to Long-Lasting Leather
- Common Mistakes That Ruin Leather Sofas
- Recommended Maintenance Schedule
- Frequently Asked Questions
Why Regular Cleaning Is Essential for Leather Sofas
A leather sofa is one of the most significant furniture investments you can make for your home. Unlike fabric upholstery, leather is a natural material that requires specific care to maintain its suppleness, color, and structural integrity. Without regular cleaning, your leather sofa faces a range of problems that go far beyond surface appearance.
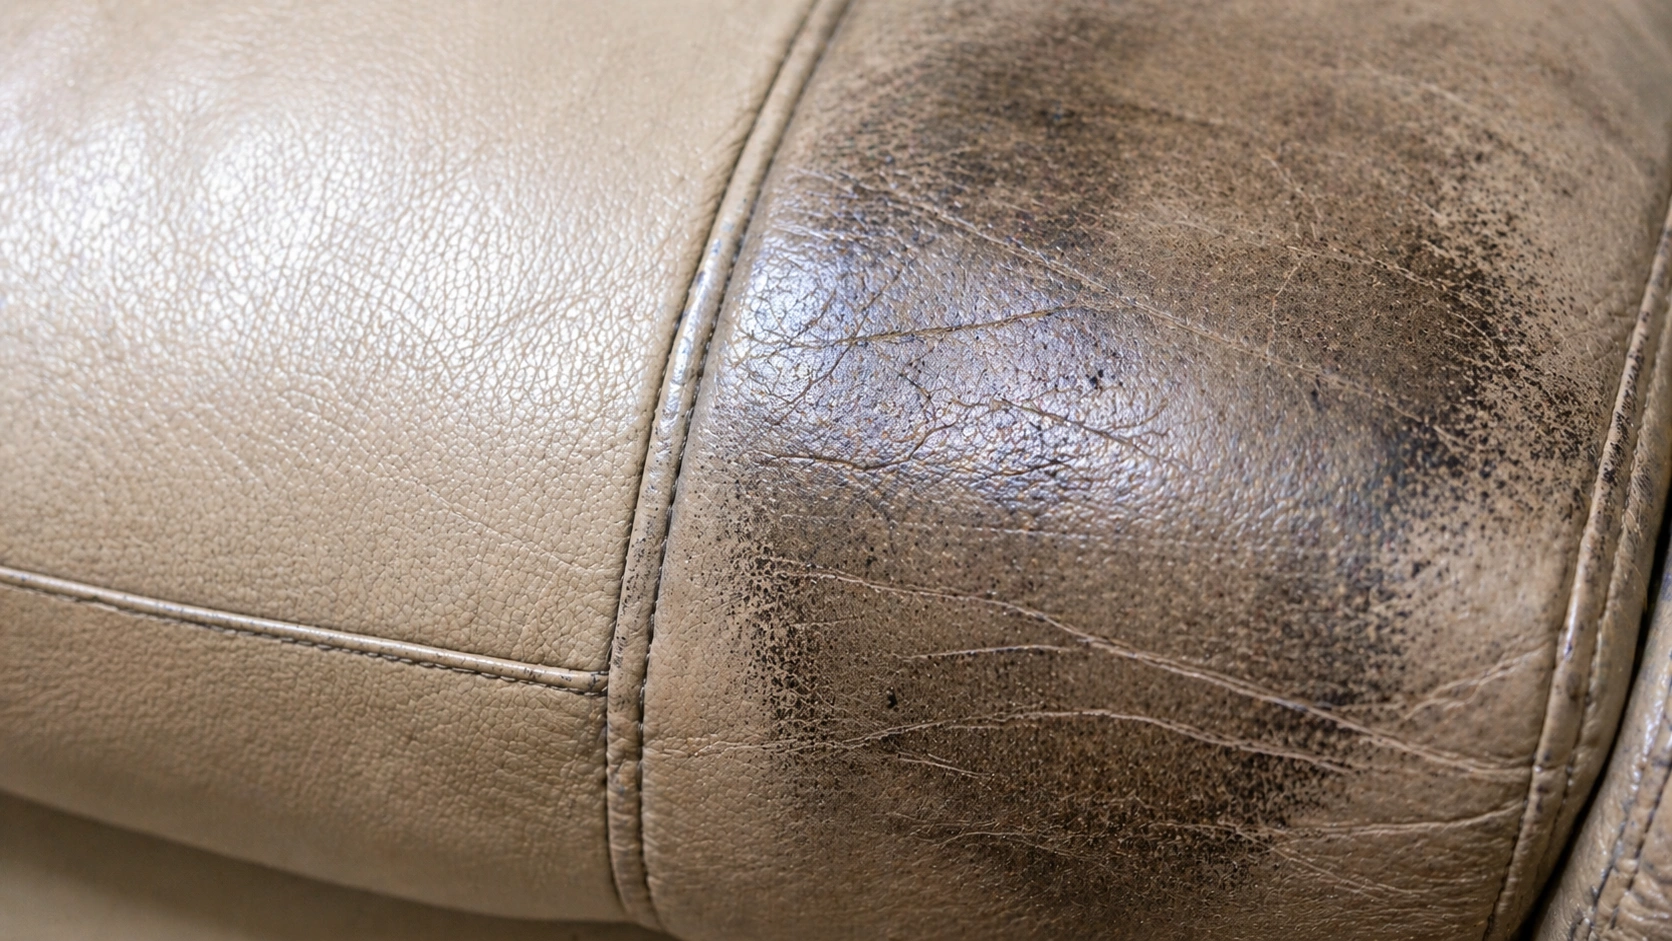
Neglected leather develops visible dirt buildup, leading to cracking and discoloration over time
Body oils and sweat accumulate on armrests and seat cushions every day. These natural oils penetrate the leather's surface and, over time, cause it to darken, become sticky, and break down the protective finish. Dust and airborne particles act like sandpaper — each time someone sits down or shifts position, microscopic abrasion occurs, gradually wearing away the leather's top coat. Pet dander, hair, and claws introduce additional contaminants that can scratch and discolor the surface, which is especially important if you're choosing among sofas for pet owners.
Regular cleaning removes these harmful elements before they cause permanent damage. According to furniture care experts, a consistent cleaning routine can extend the lifespan of a leather sofa by 5 to 10 years compared to one that receives no maintenance. For homes with children or pets — where family-friendly sofas are essential — this maintenance becomes even more critical.
Understanding Your Leather Type Before Cleaning
This is the single most important step before you begin cleaning. Different leather types react very differently to cleaning products and techniques. Using a method meant for one type on another can cause permanent damage. If you are unsure about your leather type, our guide to leather grades explained provides a thorough breakdown.
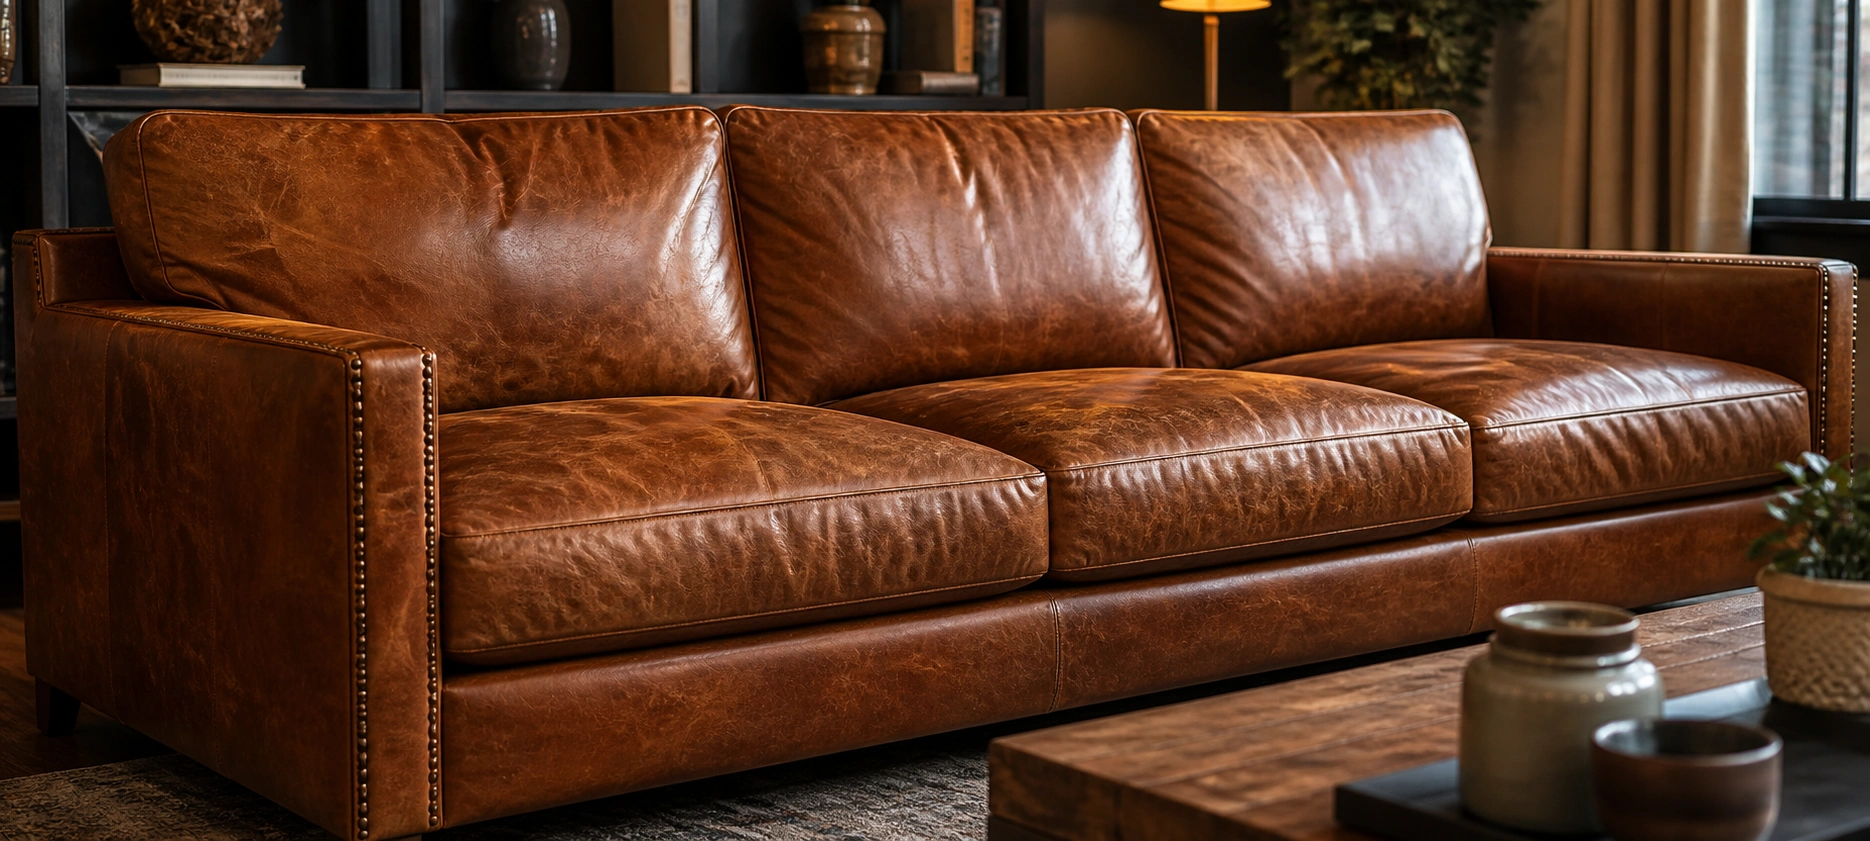
Aniline (Unprotected) Leather
The most natural and porous type. No protective coating is applied, so it absorbs liquids and stains easily. Requires the gentlest cleaning approach — only use products specifically formulated for aniline leather. Never use water-heavy solutions.

Semi-Aniline Leather
A light protective coating is applied over dyed leather, offering moderate stain resistance while retaining a natural look and feel. Can tolerate mild cleaning solutions but should still be treated with care. A good middle-ground option for many households.

Pigmented (Protected) Leather
The most durable and stain-resistant type. A polymer coating covers the surface, making it the easiest to clean and most forgiving. This is the most common type found in leather sofas sold today. Suitable for homes with kids and pets.

Bonded Leather
Made from leather scraps bonded with polyurethane. Has a leather-like appearance but is less durable. Clean gently with a damp cloth and mild soap. Avoid harsh chemicals as the bonded surface can peel or crack more easily than genuine leather.
Quick Test: Place a small drop of water on an inconspicuous area. If the water absorbs immediately, you likely have aniline leather. If it beads up and sits on the surface, you have a protected (pigmented or semi-aniline) leather. This test helps determine which cleaning approach is safe for your sofa.
Essential Tools and Supplies You Will Need
Gathering the right supplies before you start will make the cleaning process smoother and more effective. Avoid substituting with household products unless they are specifically recommended for leather — many common cleaners contain chemicals that cause more harm than good. You may also want to explore our full sofa protection guide for additional product recommendations.
Vacuum with Upholstery Attachment
Removes loose dust, crumbs, and pet hair from crevices and seams before wet cleaning.
Microfiber Cloths (3–4 pieces)
Soft, lint-free cloths for applying cleaner, wiping residue, and buffing. Keep separate cloths for each step.
Leather-Specific Cleaner
PH-balanced formula designed for your leather type. Avoid all-purpose cleaners, bleach, or abrasive products.
Leather Conditioner
Restores moisture and flexibility after cleaning. Choose a product matching your leather type for best results.
Soft-Bristle Brush
Gentle brush for working cleaner into textured areas and seams. Use only a brush with very soft bristles.
Distilled Water
Tap water contains minerals that can leave residue. Distilled water is safer for diluting solutions and damp wiping.
What NOT to Use: Never use baby wipes, vinegar (on aniline leather), rubbing alcohol (except for targeted ink stain removal on protected leather), dish soap, laundry detergent, furniture polish, or any product containing silicone, wax, or petroleum. These substances strip natural oils, cause discoloration, and break down the leather's protective coating.
Step-by-Step Leather Sofa Cleaning Process
Follow these six steps carefully for a thorough, safe cleaning that leaves your leather sofa looking refreshed without risking damage. The entire process typically takes 30 to 45 minutes depending on the size of your sofa.
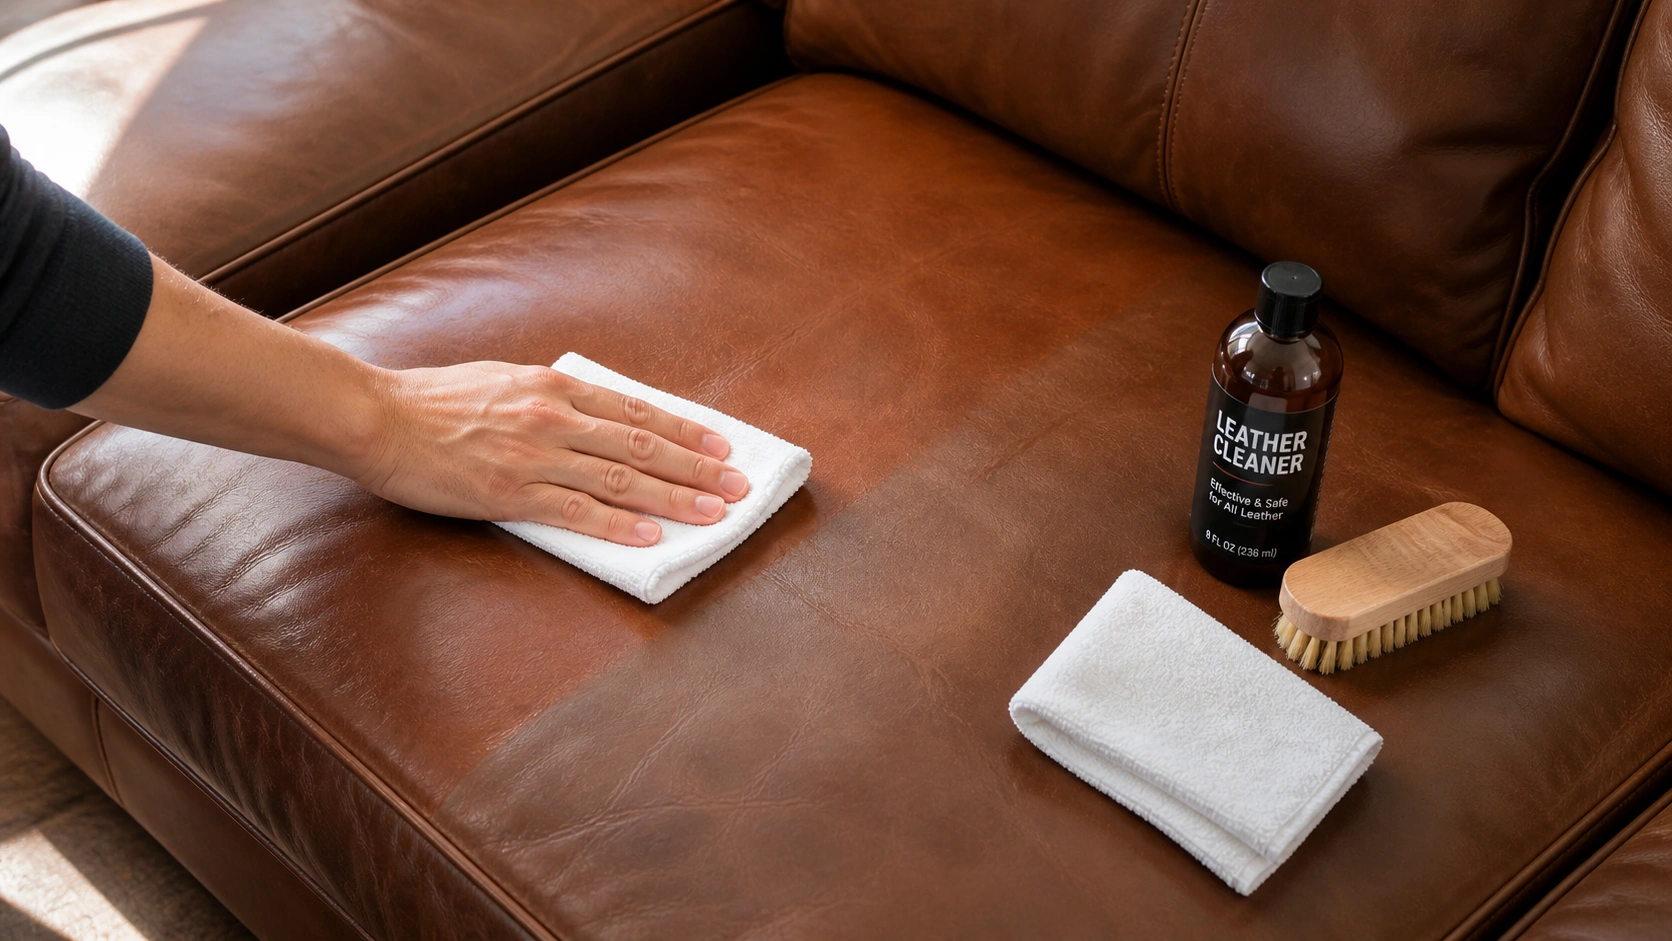
Proper leather cleaning involves gentle, methodical movements working section by section
- Identify Your Leather Type Check the manufacturer's tag (usually under a cushion or on the underside) for leather type codes: "A" for aniline, "P" for pigmented, "S" for semi-aniline. If no tag exists, perform the water drop test described earlier. This determines which products and techniques are safe to use.
- Vacuum All Surfaces Thoroughly Use the soft upholstery attachment on your vacuum to remove all loose debris — dust, crumbs, pet hair, and dirt from seams and crevices. Pay special attention to areas between cushions, along stitching lines, and under the seat. This step prevents particles from turning into abrasive paste when you apply moisture.
- Wipe Down with a Damp Microfiber Cloth Dampen a microfiber cloth with distilled water (wrung out nearly dry — the cloth should feel barely moist). Wipe the entire surface in gentle, overlapping strokes. Do not saturate the leather. This removes surface-level dust and prepares the leather for deeper cleaning.
- Apply Leather Cleaner Section by Section Apply a small amount of leather cleaner to a clean microfiber cloth — never directly onto the sofa. Work in circular motions on one section (approximately one cushion area) at a time. For textured leather, use a soft-bristle brush to gently work the cleaner into grain patterns and seams. Clean the entire sofa systematically.
- Remove All Cleaner Residue Using a fresh, damp microfiber cloth, wipe away all traces of cleaner from each section. Leftover residue can attract dirt and cause sticky buildup. Follow with a dry cloth to remove any remaining moisture. Allow the leather to air dry completely — do not use heat sources like hair dryers, which can crack the leather.
- Apply Leather Conditioner Once the leather is completely dry, apply conditioner using a clean, soft cloth. Use small, circular motions and work it in evenly across the entire surface. Let the conditioner absorb for the time specified on the product label (typically 10–20 minutes), then buff off any excess with a dry cloth. This step is crucial — it replaces the natural oils that cleaning may have removed and keeps the leather supple. For detailed conditioning advice, see our leather conditioning guide.
Pro Tip: Always test any new cleaning product on a hidden area first — the inside of a cushion flap, the back of the sofa, or an area near the base. Wait 24 hours to check for any discoloration or adverse reaction before proceeding with the full cleaning.
How to Remove Common Stains from Leather
Even with regular cleaning, accidents happen. The key to successful stain removal is acting quickly and using the right technique for each stain type. Different stains require different approaches — what works for grease will not work for ink, and using the wrong method can set the stain permanently. For a comprehensive overview of all stain types on various sofa materials, visit our stain removal guide.

Targeted stain removal techniques prevent permanent damage to leather surfaces
| Stain Type | Recommended Treatment | Important Notes |
|---|---|---|
| Ink (Pen) | Dab with cotton swab dipped in rubbing alcohol (pigmented leather only). For aniline leather, use a dedicated leather ink remover. | Never rub — dab only. Work from the outside of the stain inward to prevent spreading. |
| Grease and Oil | Sprinkle cornstarch or baking powder over the stain. Let sit for 4–6 hours or overnight. Brush off gently, then clean normally. | Do not apply water to fresh grease stains — this can spread the oil further into the leather. |
| Coffee and Tea | Blot immediately with a dry cloth. Mix a few drops of mild liquid soap with distilled water. Dab the stain gently, then wipe clean with a damp cloth. | Act within minutes for best results. Older coffee stains may require a professional leather cleaner. |
| Wine and Juice | Blot excess immediately. Dampen a cloth with distilled water and mild soap. Dab the area, then clean with a leather-safe cleaner. | For red wine on light leather, a paste of equal parts cream of tartar and lemon juice may help (test first). |
| Pet Accidents (Urine) | Blot immediately. Clean with an enzymatic leather cleaner. Follow with a thorough wipe using distilled water and allow to dry completely. | Urine can cause permanent discoloration and odor if not treated quickly. Condition the area afterward. |
| Blood | Blot with cold water on a damp cloth (never warm — heat sets blood proteins). For dried blood, use a small amount of hydrogen peroxide on pigmented leather only. | Hydrogen peroxide can lighten leather color. Test on a hidden area first and use sparingly. |
| Water Marks | Dampen the entire cushion or panel evenly with distilled water using a sponge. Allow to air dry naturally away from direct heat or sunlight. | Water marks occur when water dries in one spot. Evening out the moisture across the whole area prevents rings. |
Critical Warning: For stubborn stains on aniline or semi-aniline leather, do not experiment with DIY solutions. These unprotected leathers are extremely vulnerable to discoloration. Contact a professional leather cleaning service or use only products explicitly labeled safe for your leather type. The cost of professional cleaning is far less than replacing irreparably damaged leather.
Conditioning: The Key to Long-Lasting Leather
Cleaning removes dirt but also strips away some of the leather's natural moisture. Without conditioning, leather dries out, becomes stiff, and eventually cracks — a process that is largely irreversible. Conditioning is not optional; it is an essential part of leather care that directly impacts the comfort and durability of your sofa over time.
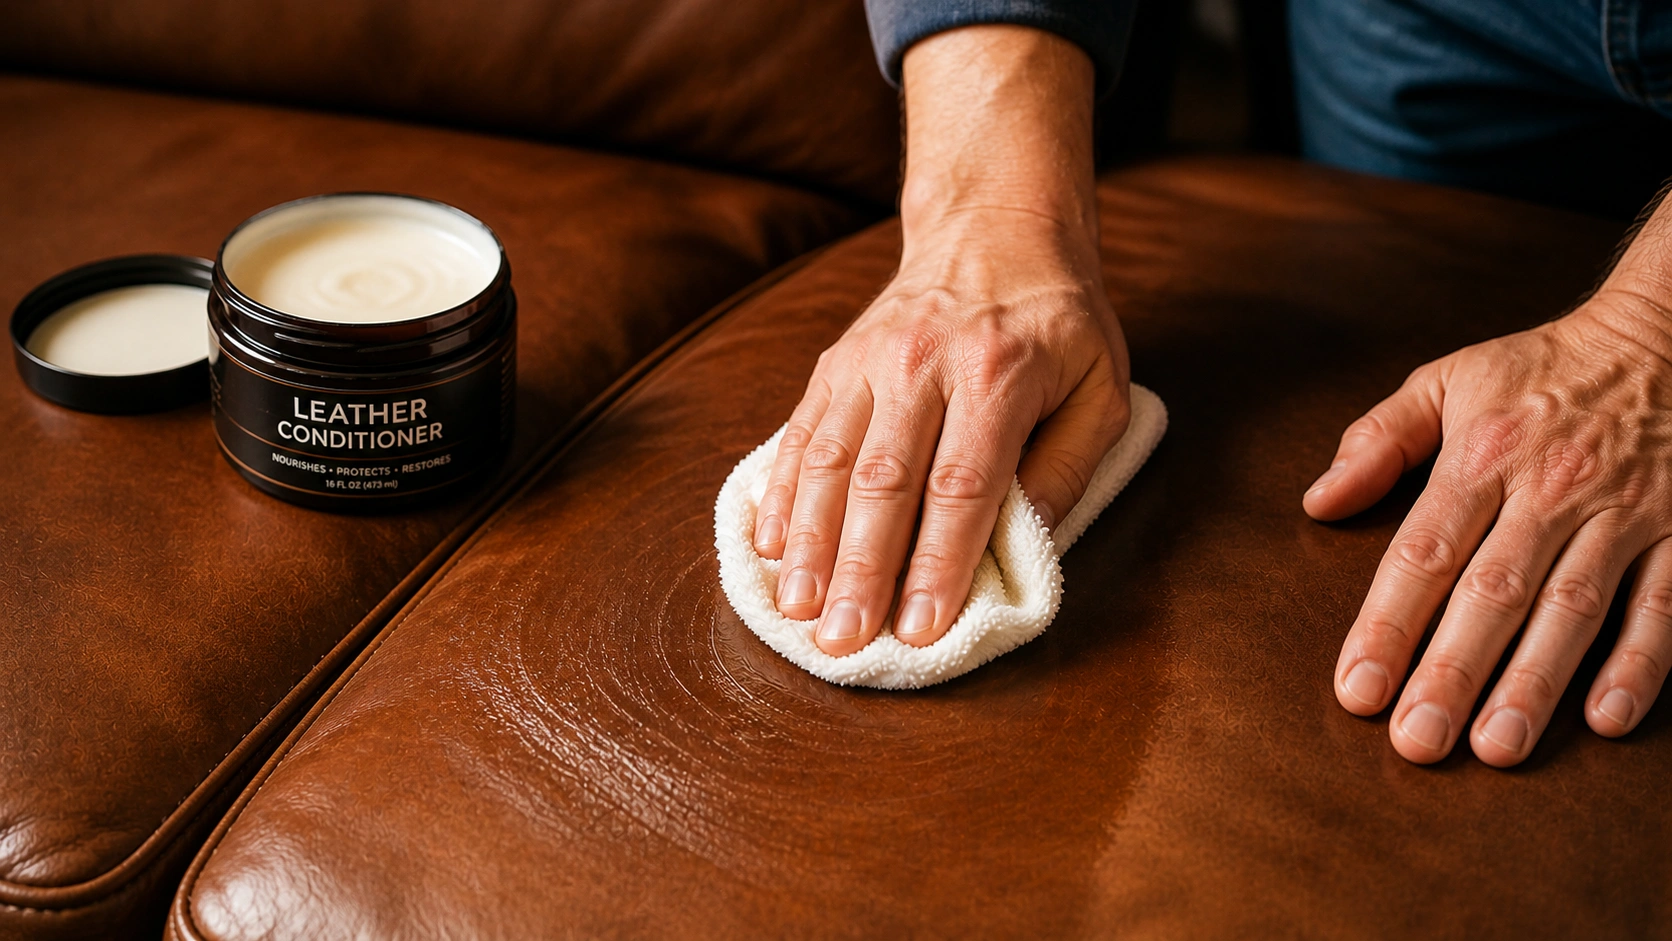
Proper conditioning application restores moisture and flexibility to leather fibers
Think of conditioning as moisturizing your skin after washing. Leather, like skin, needs regular hydration to stay supple and resistant to cracking. A quality leather conditioner penetrates the surface to nourish the fibers from within, creating a protective barrier against future dirt, spills, and daily wear.
DIY Remedies
Olive oil, coconut oil, and baby oil are often suggested online. While they may provide temporary softness, they attract dust, can go rancid causing odors, and may darken leather unevenly.
Dedicated Leather Conditioner
Specifically formulated for upholstery leather with balanced PH and proper absorption. Provides consistent results, won't darken or discolor, and includes UV protection in many quality products.
Wax-Based Products
Leather waxes create a surface coating that offers water resistance but can build up over time, attract dust, and prevent leather from breathing naturally. Best reserved for specific use cases.
For detailed guidance on choosing and applying the right conditioner for your specific leather type, our comprehensive leather conditioning guide covers product selection, application techniques, and frequency recommendations in depth. If your leather has already developed cracks or tears, see our guide on how to repair leather tears and cracks before conditioning, as conditioning alone cannot fix structural damage.
Common Mistakes That Ruin Leather Sofas
Even well-intentioned owners can accidentally damage their leather sofas by following outdated advice or taking shortcuts. Understanding these common mistakes will help you avoid costly errors. Many of these issues are also covered in our general common sofa problems and fixes article, but the following are specifically critical for leather.
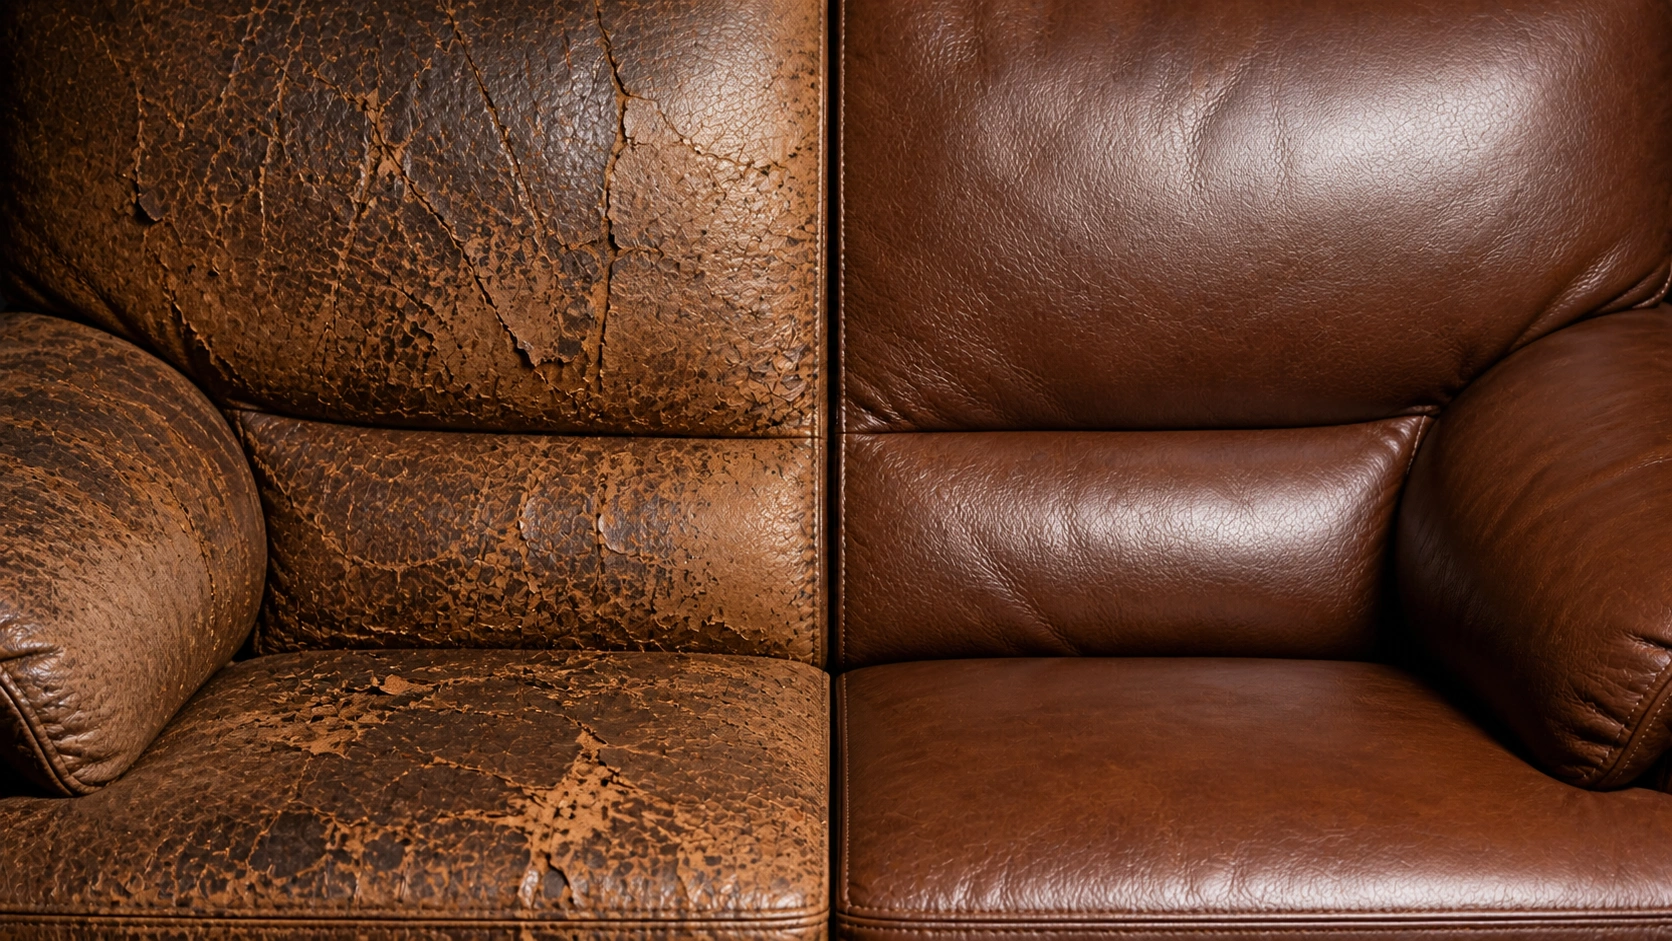
Incorrect cleaning methods lead to irreversible leather damage including cracking and peeling
Using Baby Wipes
Baby wipes contain alcohol, fragrances, and astringents that strip leather's natural oils and protective finish. Repeated use leads to dryness, cracking, and discoloration that cannot be reversed.
Saturating Leather with Water
Excess water seeps through seams and into the padding beneath, promoting mold growth and causing the leather to warp or shrink as it dries. Always use a barely damp cloth, never a wet one.
Skipping the Conditioning Step
Cleaning without conditioning leaves leather stripped of moisture. Even one session without follow-up conditioning can accelerate drying. Make conditioning a non-negotiable part of every cleaning routine.
Using Harsh Chemical Cleaners
Products containing bleach, ammonia, acetone, or all-purpose degreasers destroy leather's protective coating and cause severe discoloration. Only use cleaners explicitly labeled safe for leather.
Placing the Sofa in Direct Sunlight
UV rays cause leather to fade, dry out, and crack over time. If your sofa is near a window, consider using UV protection for your sofa or window treatments to block direct light exposure.
Using Heat to Speed Up Drying
Hair dryers, heaters, or direct sunlight force-dry leather, causing it to stiffen, shrink, and crack. Always allow leather to air dry naturally at room temperature, even if it takes several hours.
Recommended Maintenance Schedule
Consistency is the foundation of leather care. A simple, regular routine prevents the buildup of dirt and oils that lead to long-term damage. The following schedule is designed to be practical and easy to follow, ensuring your leather sofa stays in excellent condition regardless of your household's activity level. This schedule complements our broader sofa cleaning guide with leather-specific timing.
| Task | Frequency | Time Required | Details |
|---|---|---|---|
| Dust / Vacuum | Weekly | 5–10 minutes | Quick vacuum of all surfaces, crevices, and under cushions with soft attachment. |
| Damp Wipe Down | Every 2–4 weeks | 10–15 minutes | Barely damp microfiber cloth wipe of all surfaces to remove accumulated oils and light soil. |
| Deep Clean | Every 2–3 months | 30–45 minutes | Full cleaning with leather-specific cleaner following the step-by-step process above. |
| Condition | Every 3–6 months | 15–20 minutes | Apply conditioner after cleaning. Increase frequency in dry climates or high-traffic homes. |
| Spot Treatment | Immediately as needed | 2–10 minutes | Treat spills and stains right away using the appropriate method from the stain removal table. |
| Professional Cleaning | Every 1–2 years | Professional service | Recommended for aniline leather and stubborn stains. Professional equipment achieves deeper cleaning. |
Environmental Factors: Homes in dry climates need more frequent conditioning. Homes near the coast or in humid areas should watch for mold and mildew. Homes with direct sunlight exposure need UV protection strategies. Adjust this schedule based on your specific environment and household conditions. If you are also caring for other furniture types, our guide on cleaning fabric sofas or cleaning microfiber sofas can help with mixed-material living rooms.